How To Make Your Own Egg Dyes
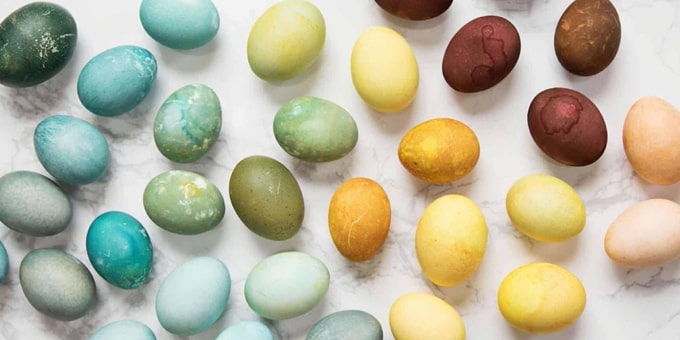
Making your own Easter egg dyes is a fun way to make natural dyes from things found right in your fridge and cupboard. We find these rich, earthy hues can’t be achieved with regular store bought dye. P.S. Kid’s will love this!
It’s important to understand it’s not as easy and quick as dropping the little tablet in hot water and adding vinegar. Even though it takes a while to do, wouldn’t you rather have some beets or spinach seep into your egg instead of artificial colors?
BOILED DYES
- Bring 2 cups of water to a rolling boil.
- Add the coloring ingredient.
- Reduce your heat and simmer for about 30 minutes – longer for the deeper color.
- Strain the mixture into a large canning jar and cool to room temperature – about 2-3 hours.
- Add 2 tablespoons white vinegar and stir.
- Add 2 or 3 hard-boiled eggs as long as they are completely immersed.
- Seal the jar and refrigerate overnight, or until the egg is the color you want.
| COLOR | per 2 cups water |
| PURPLE | 1 ½ cup shredded beets |
| ORANGE | 3 tbsp. chili powder |
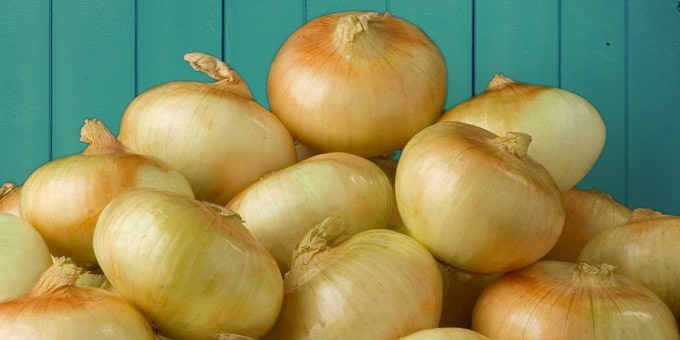
| RUST | 1 cup yellow onion skins (7 onions) |
| YELLOW | 2 tbsp. turmeric or cumin |
| LT. GREEN | 2 cups chopped spinach |
| LT. BLUE | 1 ½ cups shredded red cabbage |
NO BOIL DYES
These will be used undiluted – skip the boiling.
- Strain liquid into a large canning jar.
- Add and stir 2 tbsp. white vinegar.
- Add 3 hard-boiled eggs until completely covered.
- Seal the jar, then refrigerate overnight – or until desired color is achieved.
- Rub dried eggs with a bit of vegetable oil for a shinier finish (optional).
| COLOR | per 2 cups water |
| BLUE | 2 cups grape juice |
| DARK BLUE | 2 cups blueberry juice |
| BROWN | 2 cups brewed coffee |
ADJUSTING FOR COLORING INTENSITY
Natural dyes will require a bit more patience than the grocery store dye kits. Generally, it can take five minutes to four hours – it really depends on your desired outcome.
Eggs can be left in the dye for a few hours or longer, like overnight in the fridge. e.g. Left in beet dye for just an hour or two will create a nice light pink. When soaked overnight it turns a very earthy, pinkish-brown.
The most vibrant colors will come from the cabbage, blueberries and turmeric.
REMOVING THE EGGS
Be careful not to damage the dye coating, (a very thin film over the egg) to obtain a richer color. Use a spoon to remove them from the solution, then lay them gently on paper towel without touching them until dry. If you happen to smudge or wash the eggs, you will end up with mottled or light colored eggs.
You can choose to leave the solids in or remove them. If you leave them in, you’ll achieve a mottled or marbled effect. Removing the solids creates a more even coloring.
These earthy hues can not could not be achieved with store bought dye. It’s a great way to show kids the process of making and mixing natural dyes from things right out of the fridge and cupboard.

